Follow the steps below to install CRM v11x
Check Prerequisite
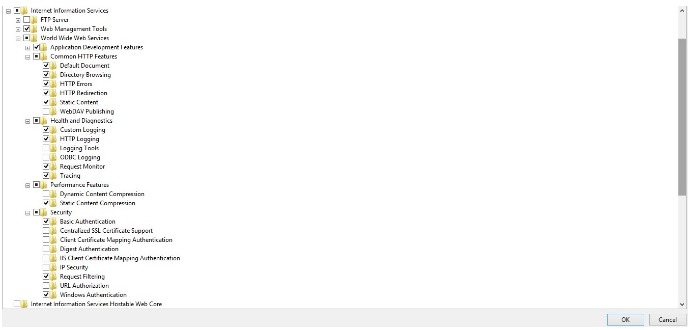
IIS 7 or later:
IIS need following components to be installed properly .
.Net framework 4.0
In case of 64-bit OS:
- First install msodbcsql.exe
- Second install MsSqlCmdLnUtils.exe
In case of 32-bit OS:
- First install msodbcsql.exe
- Second install MsSqlCmdLnUtils.exe
Environment :
Application Server:
- Microsoft Windows Server 2008 R2 (32-bit and 64-bit)
- Microsoft Windows Server 2012 (32-bit and 64-bit)
- Microsoft Windows Server 2012 R2 (32-bit and 64-bit)
- Microsoft Windows Server 2016 (32-bit and 64-bit) or later version if any.
Database Server:
- Microsoft Sql Server 2005
- Microsoft Sql Server 2008
- Microsoft Sql Server 2008 R2
- Microsoft Sql Server 2012
- Microsoft Sql Server 2014 or later version if any.
IIS :
- IIS 7
- IIS 7.5
- IIS 8 / 8.5 or later version if any.
Follow the Steps Below to start Installation
Download the installer and locate the setup.exe file, then double click on the file to initiate the installation process
STEP – 1. Starting Installation Process
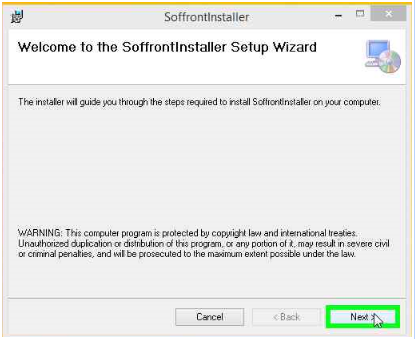
- Click on “Next > (button)” in “SoffrontInstaller”
STEP – 2. Set up the installation Folder
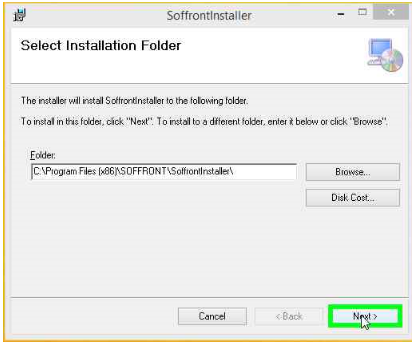
- A default/recommended installation path will already be selected.
- You can provide your own custom location or installation path by browsing from your local hard disk Or you can also check the available and already allocated space on your Hard Disk by clicking the Disk cost button.
- Click on “Next > (button)” in “SoffrontInstaller”
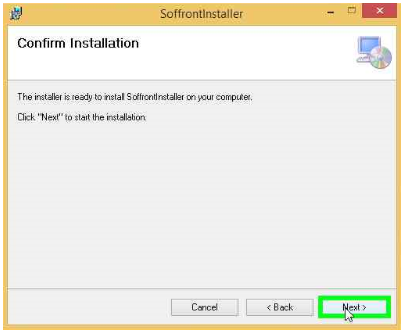
STEP – 3. Click on “Next > (button)” for the installation confirmation
STEP – 4. Add Company info.
- At this step please add the Company Name:
- Email Id and Contact numbers are optional.
- Click on “Next > (button)” .
STEP – 5. Configure Database connection
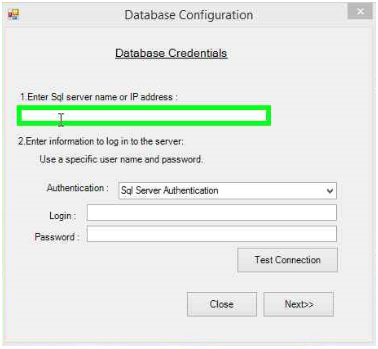
At this step you would be required to enter your Database server name or ip address where the Soffront Database would be installed.
Then , select the authentication mode to be used.
- “SQL Server Authentication” in case “Mixed Mode Authenticatin” is used on the Actual SQL Server
- “Windows Authentication” in case this is used on the SQL Server.
Based on your selection of the authentication mode; you would now need to add a valid user login credentials to establish connection with the database server.
Example: Login id and Password , in case Sql server authentication is selected
STEP – 6. Check if connection is established properly
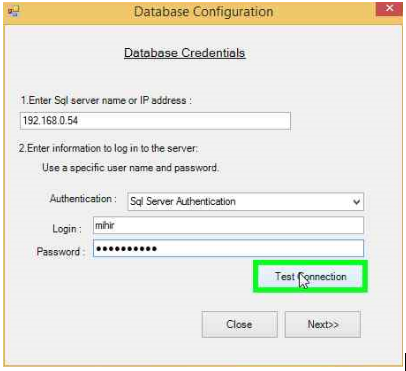
If this step fails you would need to troubleshoot with the Authentication and ensure that the connection is successful.
STEP – 7.
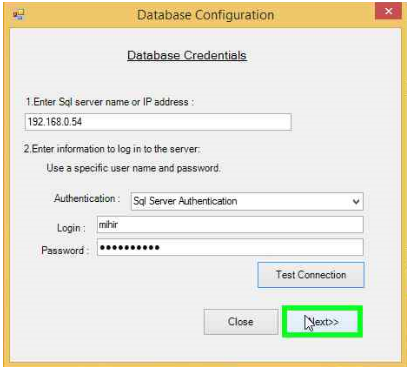
- Left click on “Next > (button)” .
STEP – 8. New Installation v/s Upgrade
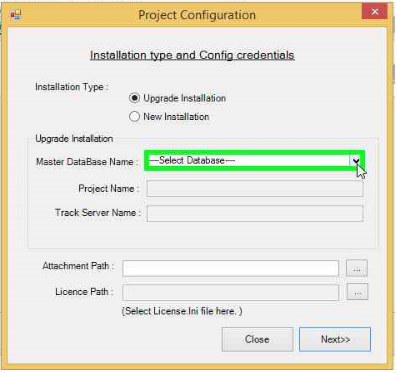
Using this screen you can either upgrade an existing installation or make a new installation.
- If the installer finds existing Soffront CRM Database,Upgrade Database would be highlighted, in which case you will be required to select the Master Database Name from the DropDown list and proceed with the upgrade
- If no Soffront CRM database is found then the new installation window will appear

At this stage you would be expected to configure the Attachment Path where all attachments files for the CRM Application would be stored.
Please note, since over time the size of this folder may grow significantly it is always recommend to use a path here that is scalable. We do not recommend using mapped drives.
After this you would need to provide the path/location of the Soffront License File for this server.
Please note: Soffront CRM License files are server specific hence it cannot be reused from another server. Please contact Soffront Support for License issues /errors
If the license is found invalid then installation will be terminated automatically so that a fresh installation could be done using a valid License file.
Left click on “Next > (button)” in “SoffrontInstaller” .
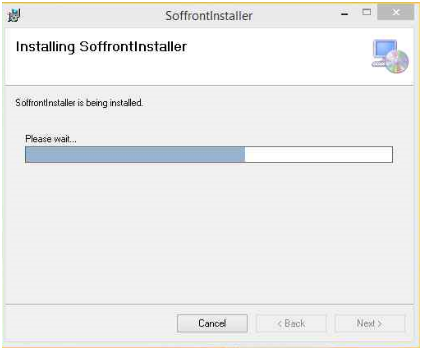
STEP – 9. Installation in progress.
STEP – 10 . New Installation successfully completed.
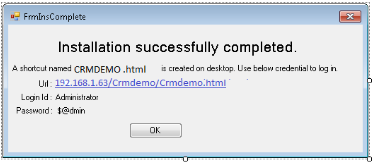
At This point Icons would be created on the Server Desktop to launch the Soffront Application using the Default Browser on the Server.
Please note: The recommended browser for using the Soffront CRM is Google Chrome, however Mozilla Firefox is also supported hence please reconfigure your default browser on the server so that the application could be launched using the recommended browser.