We have improved our UI for attaching and detaching files from records. Now you can attach or detach documents, spreadsheets images and presentations to your Account, contacts and other records from your computer or local drive with ease.
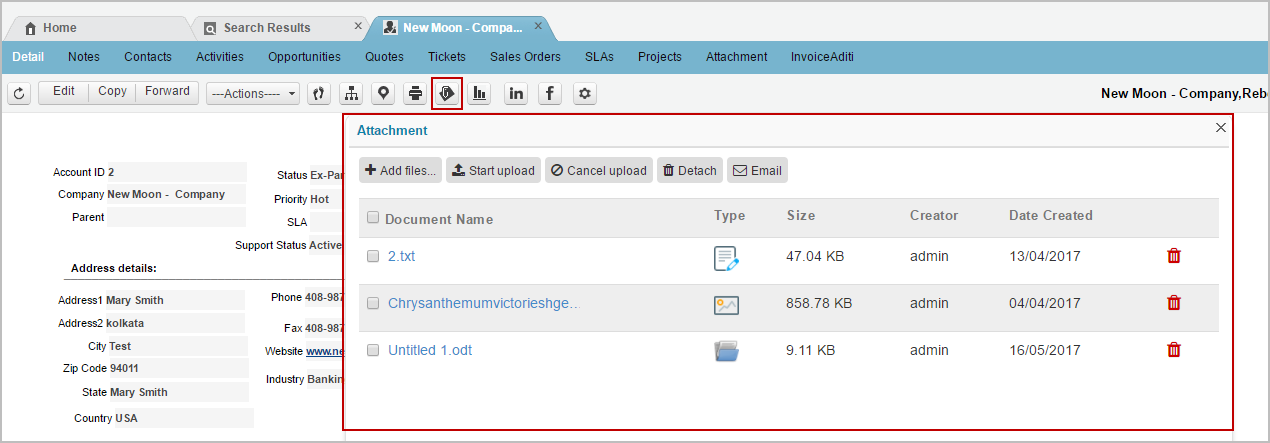
- Click Attach icon to open Attachment Window as per below screenshot.
- “Attach” Icon is also accessible from floating menu drop-down and Preview Pane Interface.
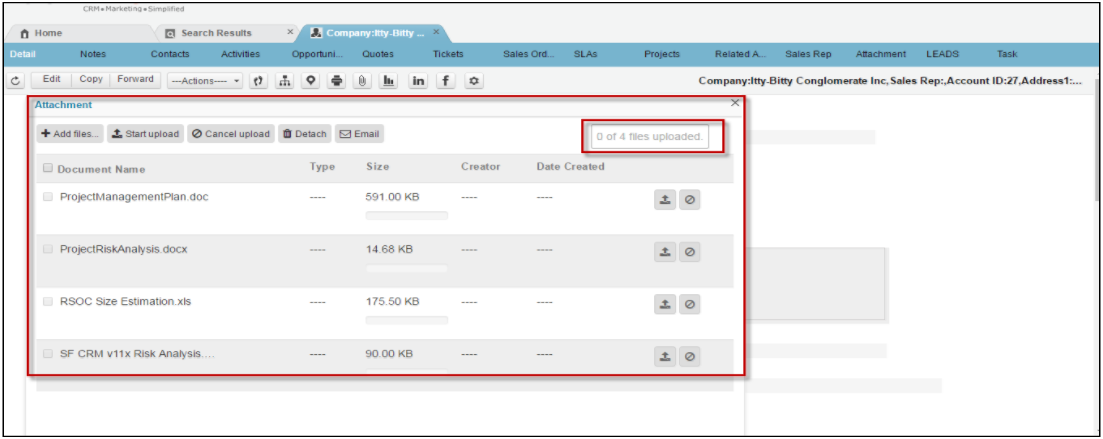
2. “Add Files” button help user to navigate and select desired files to attached against the Record.
- the system will give you a validation message if you try to upload the same attachment or a attachment with the same name twice.
- You can select and upload more the one attachment at a time.
- At present there is no limitation on number of attachments that can be uploaded.

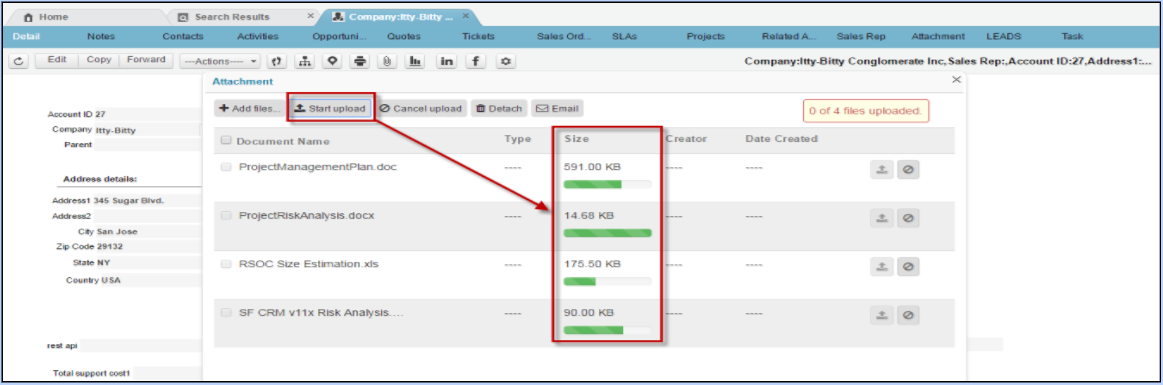
3. Click on “Start Upload” to start the upload process.
- Type, Size, Creator & Date Created gets populated after the attachments are uploaded.
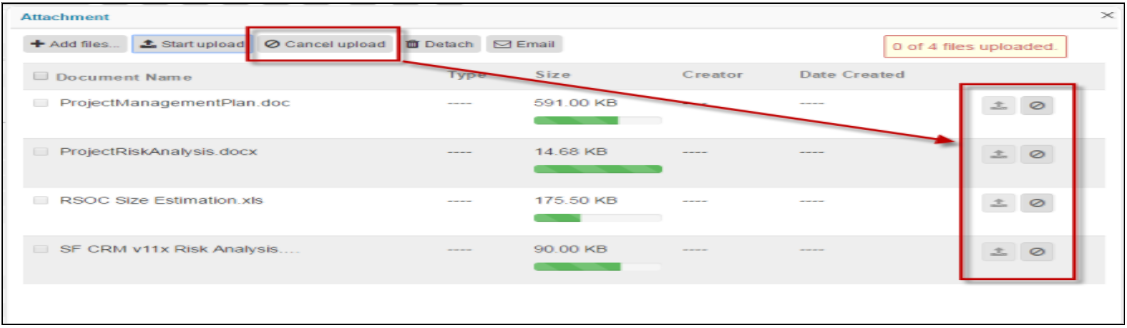
4. Click on “Cancel Upload” button to stop upload.
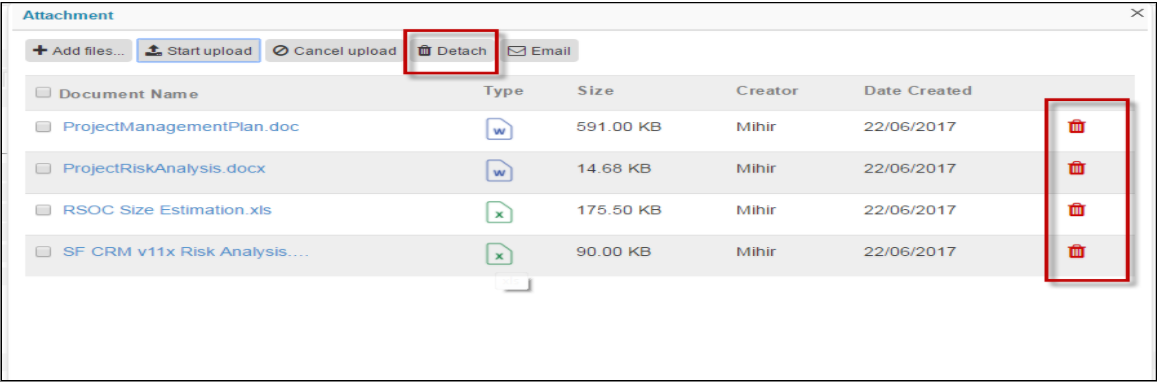
5. Click on “Detach” button to detach any uploaded attachment.
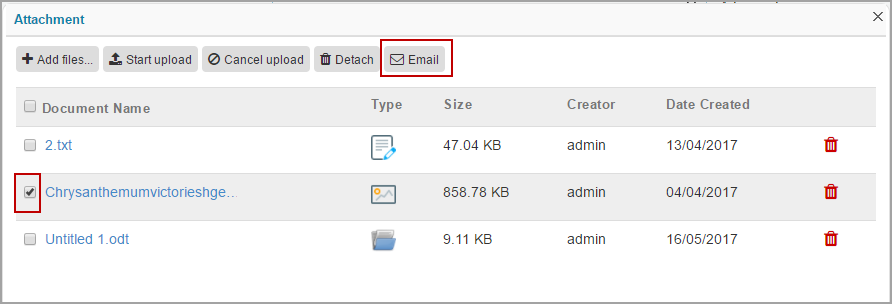
6. Select and click on the “email” icon to send out the attachment through an email.
Different options in the Attachment window
-
 Add Files: Add single or multiple files of. For example: image, doc etc.
 -
 Start Upload: Start uploading all the files at the same time.
 -
 Cancel Upload: Cancel all uploading files at same time.
 -
 Detach: Detach single or multiple files at same time.
 -
 Email: Selected attachments will be sent out through email attachment
 -
 Detach: Detach Single or multiple file.
  Upload: Upload the single file.
 Cancel : Cancel the uploading single file.