Soffront Enterprise has introduced a new control for your workflow designer, this new control is not dependent on any third party, so it would work independently without downloading any other components.
Changes has been made:
- How you should create a new State.
- How you should create a new Action.
- How to use sub-forms
Working with Workflow:
The new workflow screen will look like as shown in the image below:
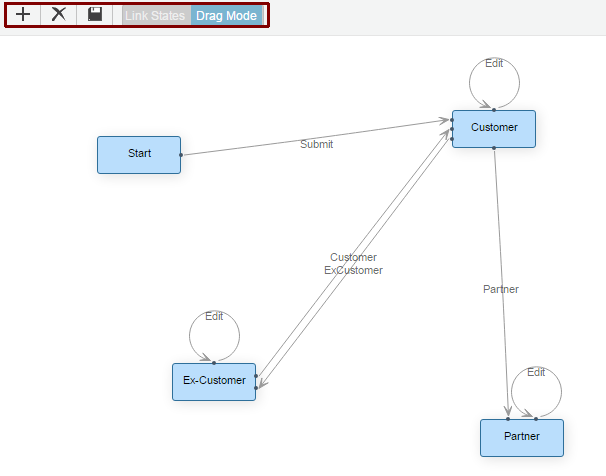
In the above image, note the new buttons which have been added.
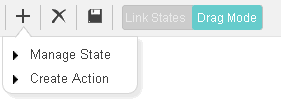
1. To create a state click the  icon and select State. Refer to the image below:
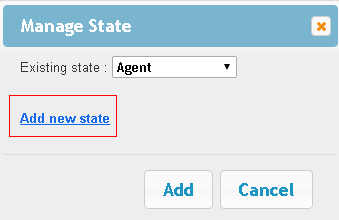
2. The Manage State pop-up appears. If you want to add any existing state then select from the drop down and click Add.
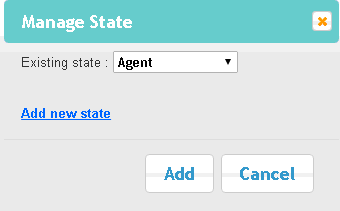
3. If you want to create a completely new state, click Add New state.
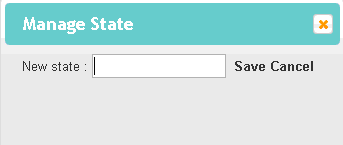
4. Enter the state name and click Save.
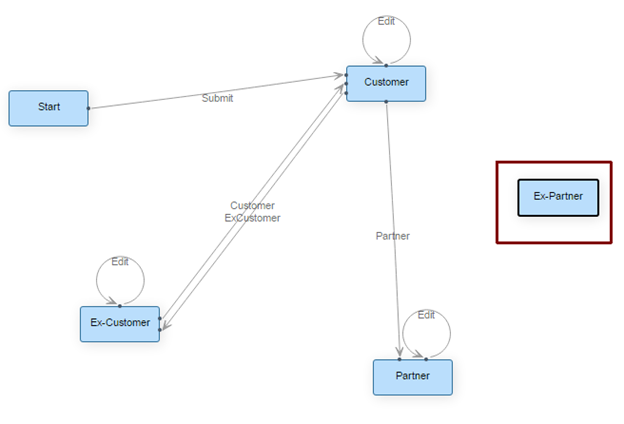
Now, select the new state from existing state drop down and click Add. The new state will appear in the work flow as shown in the image below:
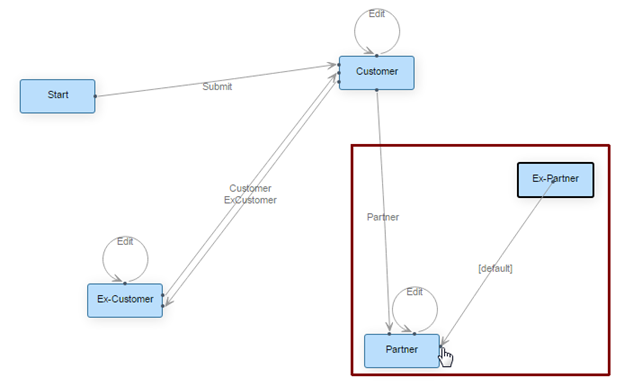
5. To link two states click Link States.

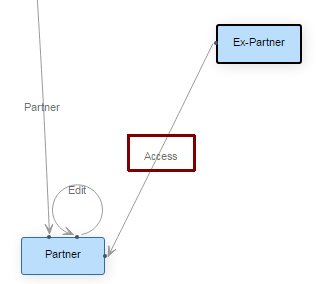
Then place the cursor on the state from which you want to link (source state) and drag the cursor on the state (destination state) to which you want to link. In this example, we will link the Ex – Partner state with the Partner state. So, place the cursor on Ex-Partner and drag to the Partner state. Refer to the image below:
6. Click on default to change the details of the action. Refer to the image below:
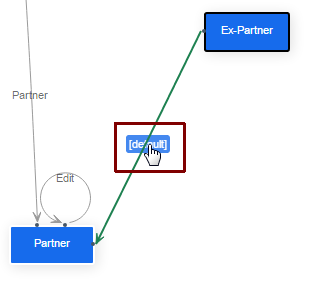
7. A new pop-up appears . Enter the details such Action name, Sub-form to use etc and click OK.
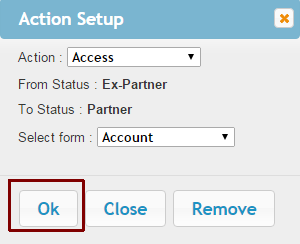
The action will be changed as shown in the image below:
